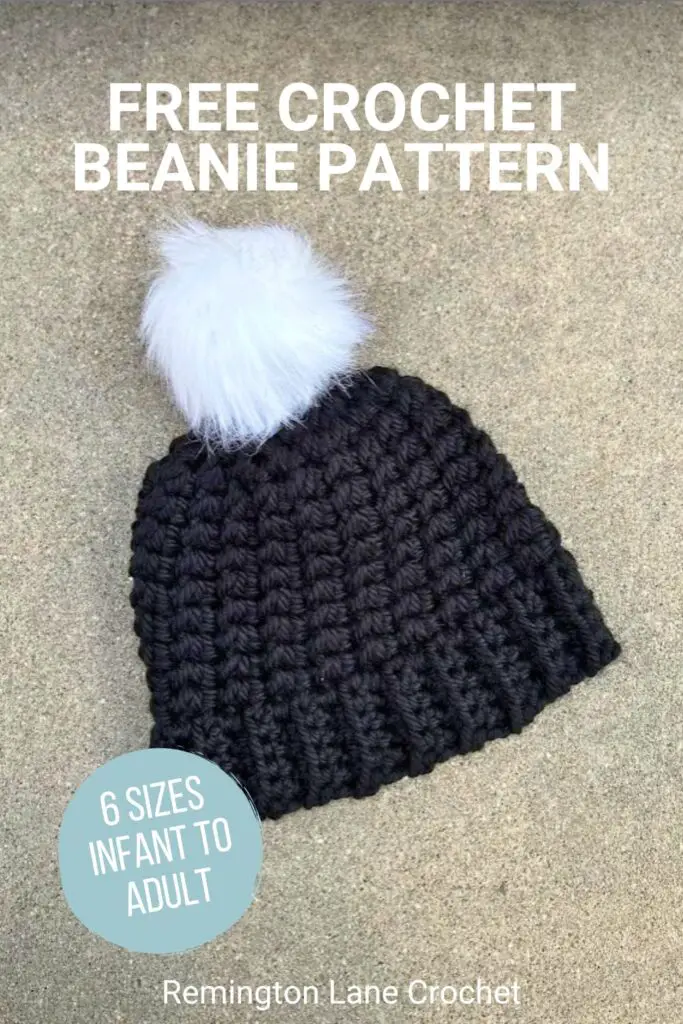
It’s October and you know what that means! It’s time for the Crochet Cancer Challenge, where crocheters pledge to make and donate thousands of crochet hats to show their support for cancer patients around the world. There’s a chunky crochet beanie pattern in store for you today and I am so excited to finally share it with you! It’s my third year as a participating designer, and I look forward to this event as much as you do! Ready to get started?
This post may contain affiliate links. If you use these links to buy something, I may earn a small commission. Affiliate links help me continue to provide free content at no extra cost to you.
This pattern was featured in the Crochet Cancer Challenge hosted by Sweet Potato 3.
Introducing the Holy Trinity Crochet Beanie Pattern
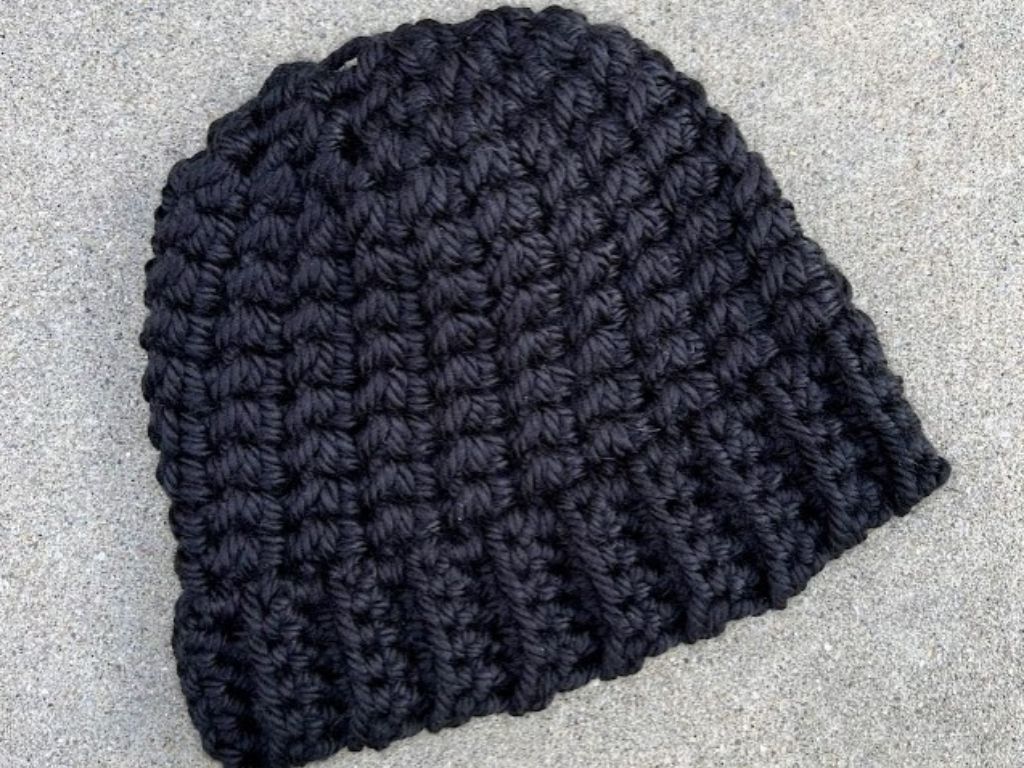
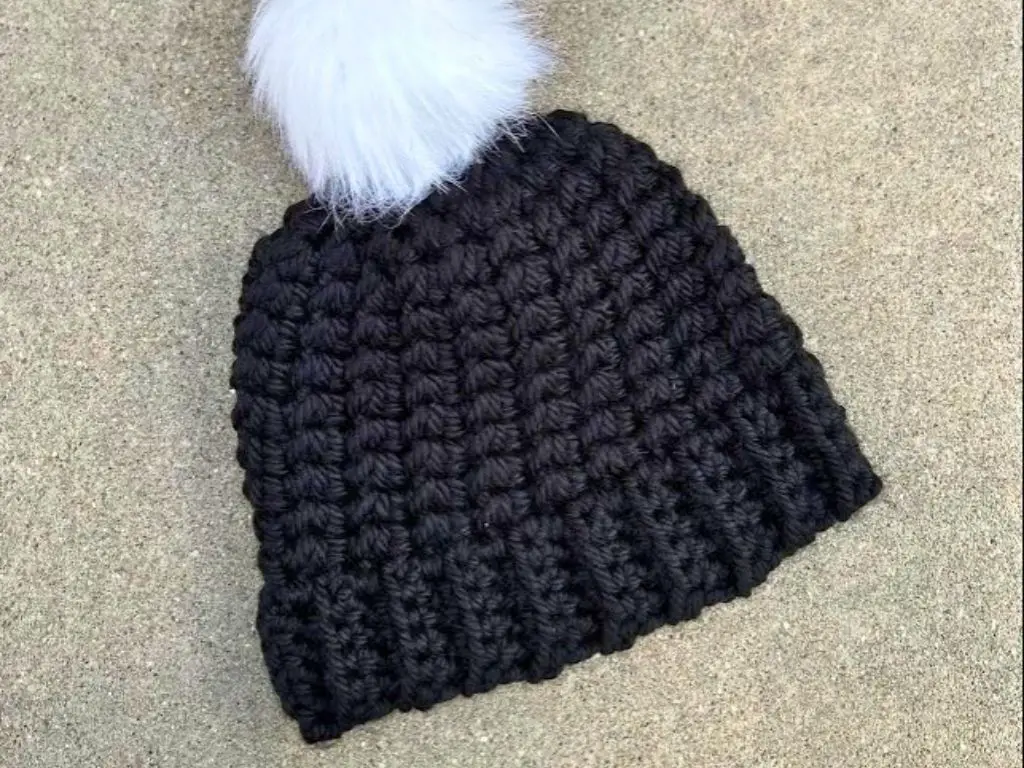
For the Holy Trinity Beanie crochet pattern, you may have noticed the title. It’s a faith-based play on words for the stitch this hat features. The Trinity Stitch is explained step-by-step further down, but basically it is a three single crochet cluster with a chain to finish off the stitch. And the faith-based part is something you can choose to do while you’re making it. As you insert your hook in the three spots for the Trinity Stitch, you can say “Father, Son, and Holy Spirit” (or something similarly meaningful for your faith).
Especially when making hats for donation, I know that many spend thoughtful time with the Lord or pray for the recipient, and I love being able to add an additional option you may not have tried before.
The Holy Trinity crochet beanie pattern starts from the bottom up, meaning that the brim comes first. When making the brim, it is worked in rows until you reach your desired length. Then, you will slip stitch it together before starting on the body. The body is worked in the round and the hat itself can be made all in one piece. Top your hat off with a pom pom, if you like, and it’s ready to go!
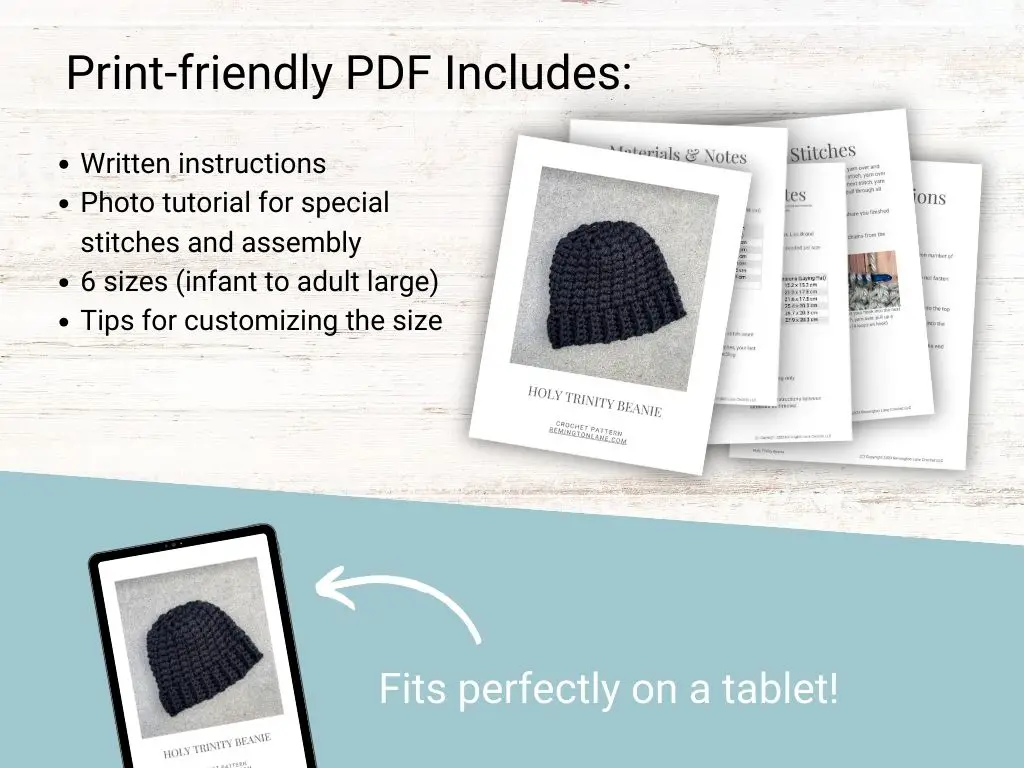
You can buy the ad-free, PDF of this pattern in my Etsy shop, Ravelry store, and LoveCrafts.

About the Stitches
Before you can get started with this crochet beanie pattern, here are some details you need to know.
Skill Level: Advanced Beginner
Materials:
- Weight 6 Super Bulky Yarn, such as Lion Brand Hometown, Lion Brand Thick and Quick
- Infant – 14-16″ (35.6-40.5 cm) head circumference – 60 yards
- Toddler – 16-18″ (40.5-45.7 cm) head circumference – 65 yards
- Child – 18-20″ (45.7-50.8 cm) head circumference – 70 yards
- Teen – 20-22″ (50.8-55.9 cm) head circumference – 78 yards
- Adult Small – 21-23″ (53.3-58.4 cm) head circumference – 81 yards
- Adult Large – 22-24″ (55.9-61.0 cm) head circumference – 90 yards
- L (8mm) Hook
- Scissors
- Yarn Needle
Gauge: Single crochet 8 stitches x 10 rows = 4” square
Finished Dimensions:
- Infant – 6 x 6″ (15.2 x 15.2 cm)
- Toddler – 7.5 x 7.5″ (19.1 x 19.1 cm)
- Child – 8.5 x 7.5” (21.6 x 19.1 cm)
- Teen – 9 x 9” (22.3 x 22.3 cm)
- Adult Small – 9.5 x 9” (24.1 x 22.3 cm)
- Adult Large – 10 x 9.5” (25.4 x 24.1 cm)
Stitch Abbreviations:
- sl st – slip stitch
- ch – chain
- sc – single crochet
- sc3tog – single crochet three stitches together
- BLO – back loop only
- st – stitch
- rep – repeat
- * – repeat instructions between asterisks as directed
Special Stitches (with photo tutorials if needed)
- Trinity Stitch (sc3tog, ch 1) – Insert hook into the same stitch, yarn over and pull up a loop (2 loops on your hook), insert hook into the next stitch, yarn over and pull up a loop (3 loops on your hook), insert hook into the next stitch, yarn over and pull up a loop (4 loops on your hook), yarn over and pull through all loops on your hook, chain 1.
- Begin your next sc3tog by inserting your hook into the spot where you finished the previous stitch.
- After round 1, you will insert your hook into the stitches and chains from the previous round.
Pattern Notes:
- US Terms (US to UK terminology conversion)
- For the brim of the hat, ch 1 at the beginning of the row does not count as a stitch
- For the body of the hat, ch 1 at the beginning of the round does not count as a stitch
- For the body of the hat, ch 1 in the Trinity Stitch cluster counts as a stitch
- Count the number of stitches in round 1, and use this as your stitch count for each round until you reach the decreasing rounds
- Each sc3tog stitch always begins by placing your hook into the existing stitch
- The final sc3tog in each round will end with inserting your hook into the beginning of the first stitch in the round
- In the decreasing rounds, there will not be a ch 1 to close the Trinity Stitch
- Use the measurement below for the length of the brim:
- Infant – 13″ (33.0 cm)
- Toddler – 15″ (38.1 cm)
- Child – 17″ (43.2 cm)
- Teen – 19″ (48.3 cm)
- Adult Small – 20″ (53.3 cm)
- Adult Large – 21″ (58.4 cm)

How to Make This Chunky Crochet Beanie Pattern
Infant Size
Make the Brim
Ch 4
Row 1: sc into 2nd ch from hook, sc to end, ch 1, turn. (3)
Row 2: BLO sc to end, ch 1, turn (3)
Repeat row 2 until you reach the desired length, ending with an even number of rows.
Ch 1, Turn. Bring same sides together, sl st through both layers. Do not fasten off.
Make the Body
Round 1: ch 1, sc in the edge of the ribbing all the way around. Sl st into the top of the first sc.
Round 2: ch 1, *sc3tog, ch 1,* rep from * to * to end of the round, sl st into the top of the first sc3tog.
Round 3-8: repeat round 2.
Round 9: ch 1, *sc3tog into same stitch and next two stitches,* rep to the end of the round, sl st into the top of the first sc3tog.
Round 10: repeat round 9.
Fasten off, leaving a long tail approximately 8-12” (20.3-30.5cm). Weave through every other st and pull tight. Continue to weave in ends.
Add pom (optional).

Toddler and Child Size
Make the Brim
Ch 5
Row 1: sc into 2nd ch from hook, sc to end, ch 1, turn. (4)
Row 2: BLO sc to end, ch 1, turn (4)
Repeat row 2 until you reach the desired length, ending with an even number of rows.
Ch 1, Turn. Bring same sides together, sl st through both layers. Do not fasten off.
Make the Body
Round 1: ch 1, sc in the edge of the ribbing all the way around. Sl st into the top of the first sc.
Round 2: ch 1, *sc3tog, ch 1,* rep from * to * to end of the round, sl st into the top of the first sc3tog.
Round 3-8: repeat round 2.
Round 9: ch 1, *sc3tog into same stitch and next two stitches,* rep to the end of the round, sl st into the top of the first sc3tog.
Round 10-11: repeat round 9.
Fasten off, leaving a long tail approximately 8-12” (20.3-30.5cm). Weave through every other st and pull tight. Continue to weave in ends.
Add pom (optional).

Teen and Adult Sizes
Make the Brim
Ch 6
Row 1: sc into 2nd ch from hook, sc to end, ch 1, turn. (5)
Row 2: BLO sc to end, ch 1, turn (5)
Repeat row 2 until you reach the desired length, ending with an even number of rows.
Ch 1, Turn. Bring same sides together, sl st through both layers. Do not fasten off.
Make the Body
Round 1: ch 1, sc in the edge of the ribbing all the way around. Sl st into the top of the first sc.
Round 2: ch 1, *sc3tog, ch 1,* rep from * to * to end of the round, sl st into the top of the first sc3tog.
Round 3-9: repeat round 2.
Round 10: ch 1, *sc3tog into same stitch and next two stitches,* rep to the end of the round, sl st into the top of the first sc3tog.
Round 11-12: repeat round 10.
Round 13 (Adult Large only): repeat round 10.
Fasten off, leaving a long tail approximately 8-12” (20.3-30.5cm). Weave through every other st and pull tight. Continue to weave in ends.
Add pom (optional).
Purchase the Holy Trinity Crochet Beanie Pattern
You can buy the ad-free, PDF of this pattern in my Etsy shop, Ravelry store, and LoveCrafts.
More Crochet Beanie Patterns You Will Love to Make
I love seeing your finished projects! If you enjoyed making the Holy Trinity Beanie, I’d love to see yours on Instagram. To be sure I don’t miss it, please tag me @remingtonlanecrochet when you share your photos!


Copyright 2020-2024 Remington Lane Crochet, LLC. This pattern and its images are copyright protected and the sole property of Remington Lane Crochet LLC. Please do not redistribute, transfer, or sell the pattern, or alter it to claim as your own.
You may sell any products you create from this pattern. Please credit the designer by linking online listings to https://remingtonlane.com/ or by tagging @remingtonlanecrochet

Leave a Reply