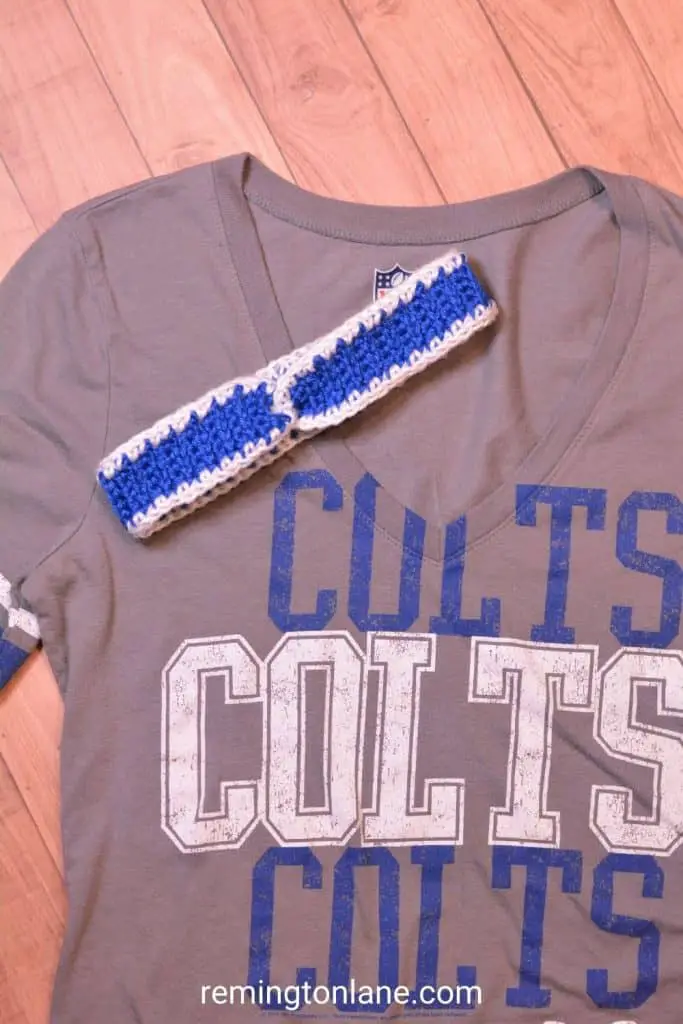
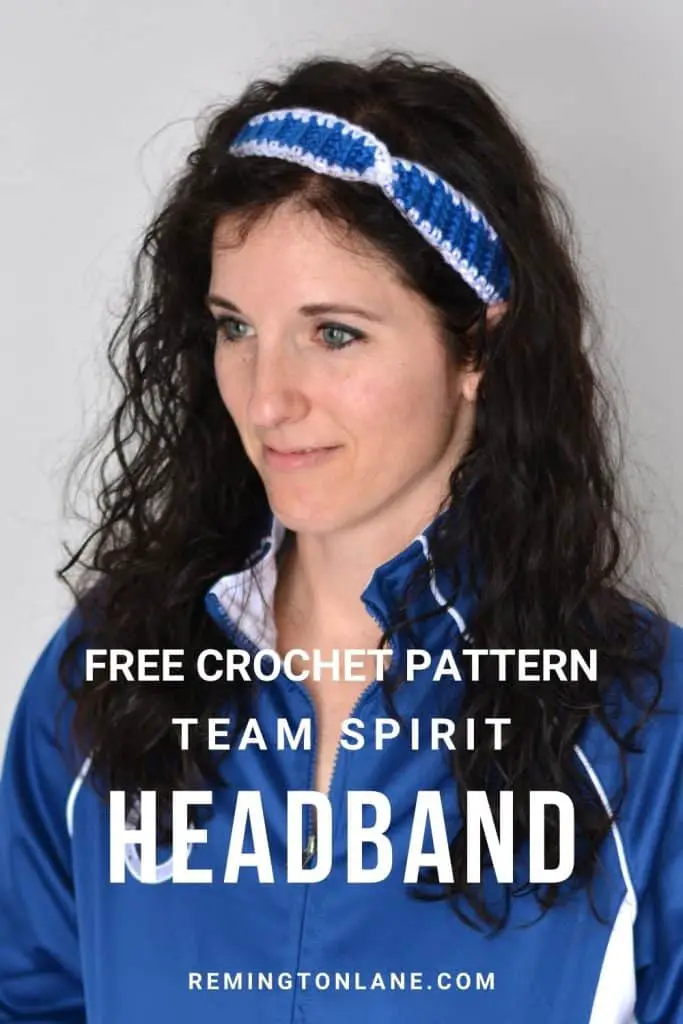
Are you looking for a fun way to accessorize on gameday? A crochet headband in your team’s colors is the perfect way to tame your tresses while showing off your team spirit.
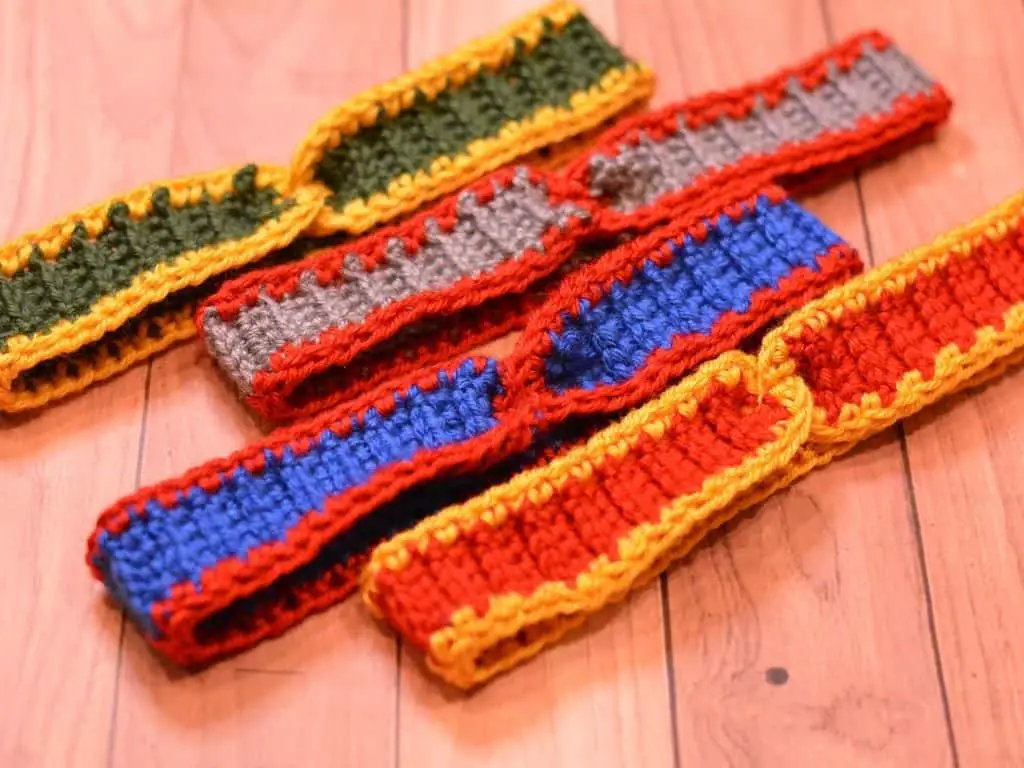
This headband whips up really quickly, in about an hour. So over the course of a few days, you can make one for every school and team you support. That way, you always have some team spirit you can throw on, and who knows – it might just become your good luck charm!
This post may contain affiliate links. If you use these links to buy something, I may earn a small commission. Affiliate links help me continue to provide free content at no extra cost to you.
LIMITED TIME ONLY – September 17, 2023
Get the PDF Pattern for FREE through the Team Spirit Blog Hop
Keep reading to find the button and claim the free pattern.
Introducing the Team Spirit Crochet Headband
Anyone who knows me knows how much I love my sports teams, especially football. I grew up tailgating at Purdue football games and watching the Colts play on Sundays.
Now, I’m working to pass on my love for sports to my own kids, and what better way than to show some team spirit on game day! We get into our t-shirts and jerseys, and now I love that can throw on a matching headband for some added flair.
Someday, when my daughters are old enough to keep them on for more than five seconds, they’ll be able to enjoy them too!
I want everyone to be able to support their team, no matter how old. There is a size for everyone from infants to adults, including directions to make your own custom size.
You can buy the ad-free, PDF of this pattern on Etsy shop, Ravelry store, and LoveCrafts.
About the Stitches
Before you can get started with this headband, here are some details you need to know.
Skill Level: Advanced Beginner / Intermediate
Materials:
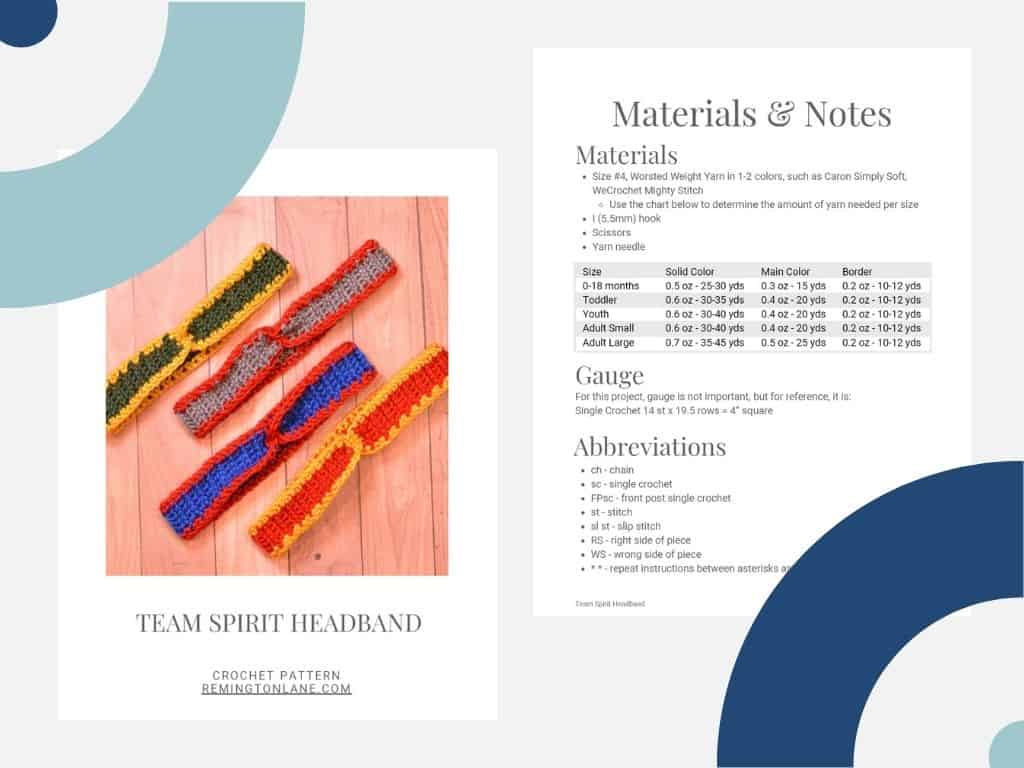
- Size #4, Worsted Weight Yarn in 1-2 colors, such as Caron Simply Soft, WeCrochet Mighty Stitch
- Use the chart below to determine the amount of yarn needed per size
- I (5.5mm) Hook
- Scissors
- Yarn Needle
| Size | Solid Color | Main Color | Border |
| 0-18 months | 0.5 oz – 25-30 yds | 0.3 oz – 15 yds | 0.2 oz – 10-12 yds |
| Toddler | 0.6 oz – 30-35 yds | 0.4 oz – 20 yds | 0.2 oz – 10-12 yds |
| Youth | 0.6 oz – 30-40 yds | 0.4 oz – 20 yds | 0.2 oz – 10-12 yds |
| Adult Small | 0.6 oz – 30-40 yds | 0.4 oz – 20 yds | 0.2 oz – 10-12 yds |
| Adult Large | 0.7 oz – 35-45 yds | 0.5 oz – 25 yds | 0.2 oz – 10-12 yds |
Gauge: For this project, gauge is not important, but for reference, it is Single Crochet 14 st x 19.5 rows = 4” square
Finished Dimensions: 1.5” wide (4cm)
See the chart below to determine which size headband to make.
| Size | Head Circumference | Headband Size Before Adding Border |
| 0-6 months | 16″ (40.5 cm) | 10″ (25.5 cm) |
| 6-12 months | 17″ (43 cm) | 11″ (28 cm) |
| 12-18 months | 18″ (46 cm) | 12″ (30.5 cm) |
| Toddler | 19″ (48 cm) | 13″ (33 cm) |
| Youth | 20″ (51 cm) | 14″ (35.5 cm) |
| Adult Small | 22″ (56 cm) | 16″ (40.5 cm) |
| Adult Large | 24″ (61 cm) | 18″ (46 cm) |
Stitch Abbreviations:
- ch – chain
- sc – single crochet
- FPsc – front post single crochet
- st – stitch
- sl st – slip stitch
- RS – right side of piece
- WS – wrong side of piece
- * – repeat instructions between asterisks as directed
Pattern Notes:
- US Terms (US to UK terminology conversion)
- Ch 1 at the beginning of each row does not count as a stitch
- Do not carry the yarn through when changing colors. Cut the yarn at each color change.
- Border is made while working on the RS the entire way
- If your head circumference is different from the chart measurements, subtract 6″ (or 15 cm) from your head circumference to get the size headband to make prior to adding the border
How to Make This Crochet Headband
Main Color, ch 6
Row 1: sc in 2nd ch from hook, sc to end. Turn. (5)
Row 2: ch 1, FPsc in each st. Turn. (5)
Row 3: ch 1, sc in each st. Turn. (5)
Repeat Rows 2-3 until your headband measures the length specified for your size. End on Row 3, this will be the WS so be sure to turn before starting the border. If changing colors for border, fasten off and weave in ends.
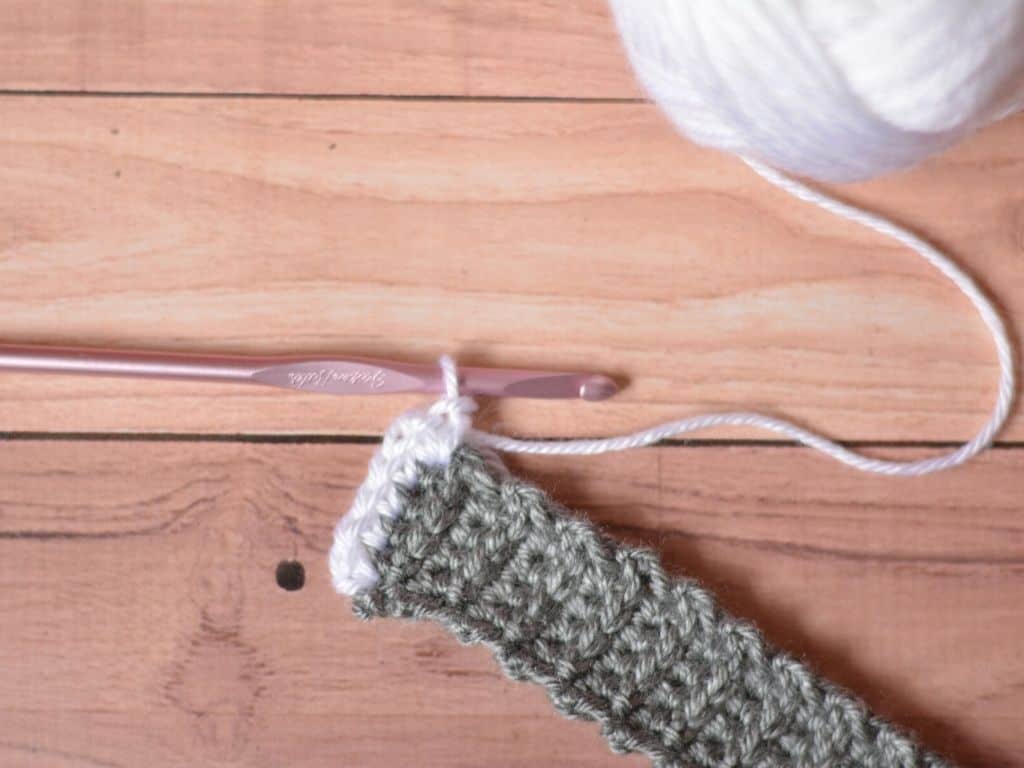
Add the Border
If using an alternate color for the border, join yarn in a corner of the short end. If left-handed, join on the left corner, if right-handed join on the right corner.
Ch 1, sc in each st across to the end of the row, ch 1, sc in the same st.
Continue to sc around the entire piece, with a (sc, ch 1, sc) in each corner. Sl st to join.
Fasten off, leaving a tail that can be used to sew the headband together.
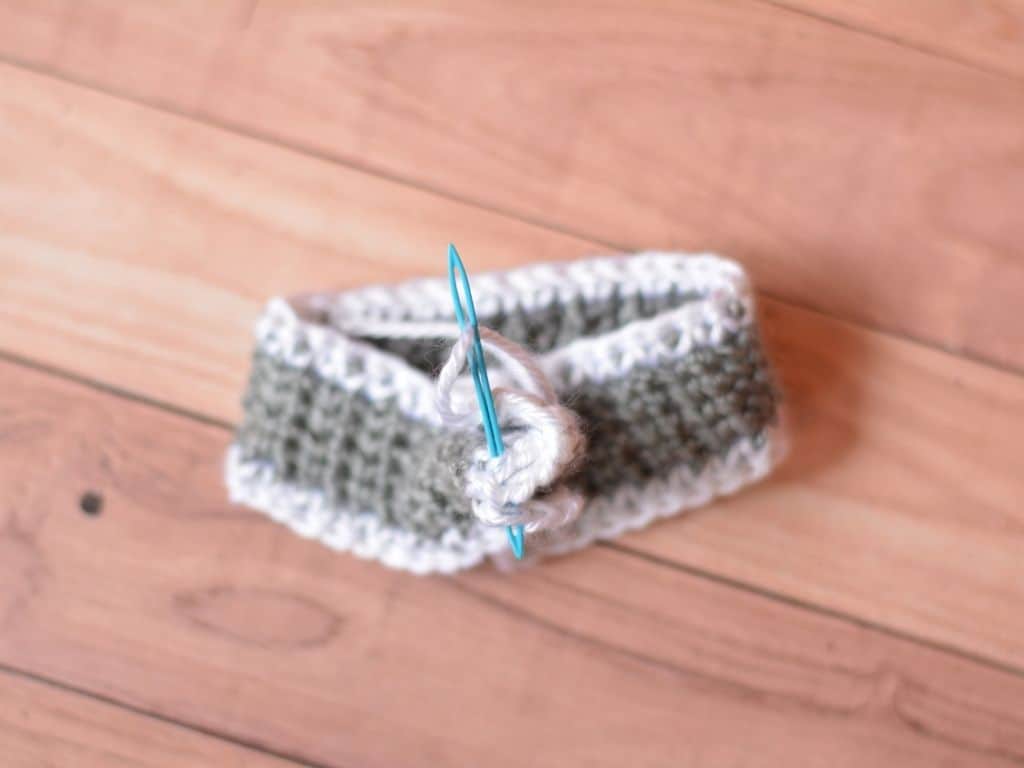
Sew the Headband
With the RS together line up the ends so that the foundation chain end and the last row are in line together.
Fold each end in half and match them together so that they overlap each other.
Using the tail from the border, sew through the ends from one side to the other, multiple times until they are secure.
Fasten off and weave in ends. Turn the headband right side out.
September 17, 2023: Get the Team Spirit Headband pattern for free! Click on the button below and go to Ravelry. If you don’t have the coupon code, visit the blog hop hub.

Missed a few days? Grab your copy of all 10 patterns in the Team Spirit Pattern Bundle

Purchase the Team Spirit Headband Pattern
You can buy the ad-free, PDF of this pattern on Etsy shop, Ravelry store, and LoveCrafts.
More Projects You Will Love to Make
I love seeing your finished projects! If you enjoyed making the Team Spirit Headband, I’d love to see yours on Instagram. To be sure I don’t miss it, please tag me @remingtonlanecrochet when you share your photos!

Copyright 2020-2026 Remington Lane Crochet, LLC. This pattern and its images are copyright protected and the sole property of Remington Lane Crochet LLC. Please do not redistribute, transfer, or sell the pattern, or alter it to claim as your own.
You may sell any products you create from this pattern. Please credit the designer by linking online listings to https://remingtonlane.com/ or by tagging @remingtonlanecrochet

Leave a Reply