Happy 2022! There’s a brand new, beginner-friendly crochet ear warmer pattern that you are going to love. It’s jam-packed with crochet goodness like two different textures and four different assembly options. Remember when selecting yarn was the hardest part of a pattern? Now you can blame me when you have a pile of ear warmers next to you because you can’t stop making all the styles.
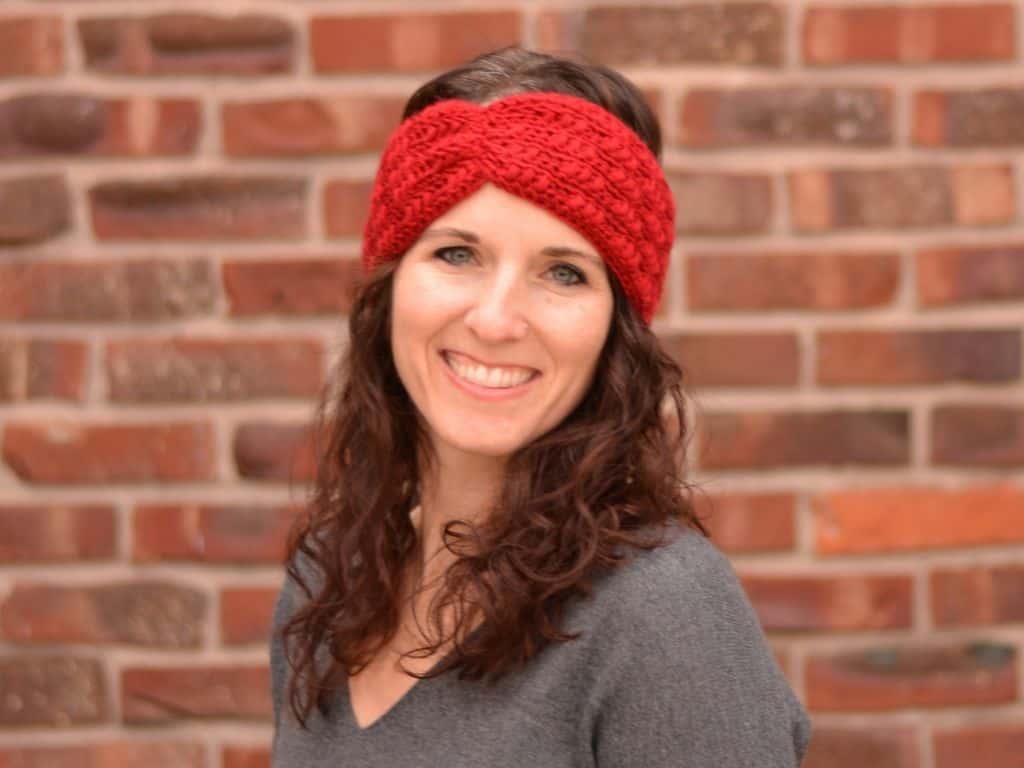
Now that winter is here, it means frigid mornings at the bus stop and bundling everyone up for chilly errand runs. While I don’t love how long it takes to get everyone bundled up and out the door, I do love how throwing on a stylish headband instantly makes me feel a little fancy. You too, right?
They make the perfect accent for both a good hair day as well as when you’re running around in a ponytail, plus these winter headbands will keep your ears warm and toasty.
This post may contain affiliate links. If you use these links to buy something, I may earn a small commission. Affiliate links help me continue to provide free content at no extra cost to you.
This pattern was featured in the Scrap Busting Blog Hop hosted by Made By Gootie and Raffamusa Designs
LIMITED TIME ONLY – FEBRUARY 13, 2025
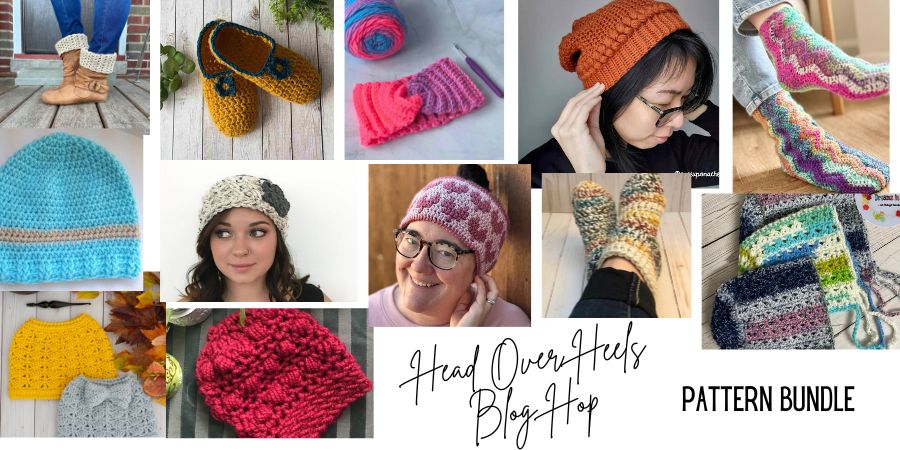
Get the PDF Pattern for FREE through the Head Over Heels Blog Hop hosted by MadameStitch.
Keep reading to find the button and claim the free pattern. Want all the patterns without hopping the blogs? Grab the Head Over Heels Bundle.
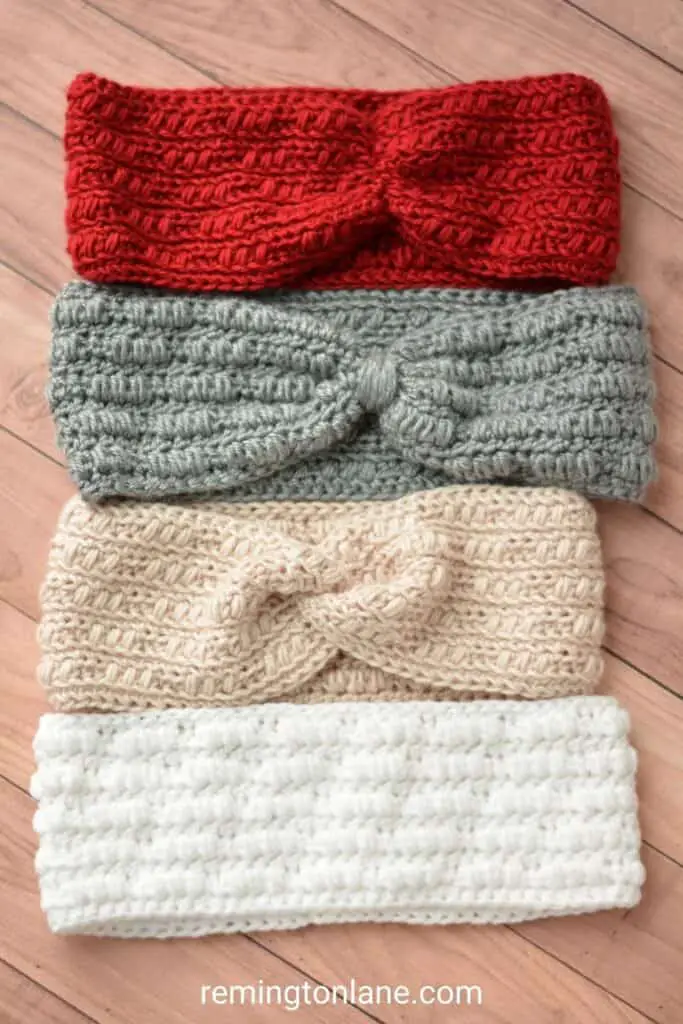
Introducing the St. Peregrine Ear Warmer Crochet Pattern
This ear warmer is the third pattern in the St. Peregrine Collection and I love how quick and easy these are to whip up! I made one for my mom, sister, and sister-in-law for Christmas last month, each in a different finished style. And of course, I made one for myself too.
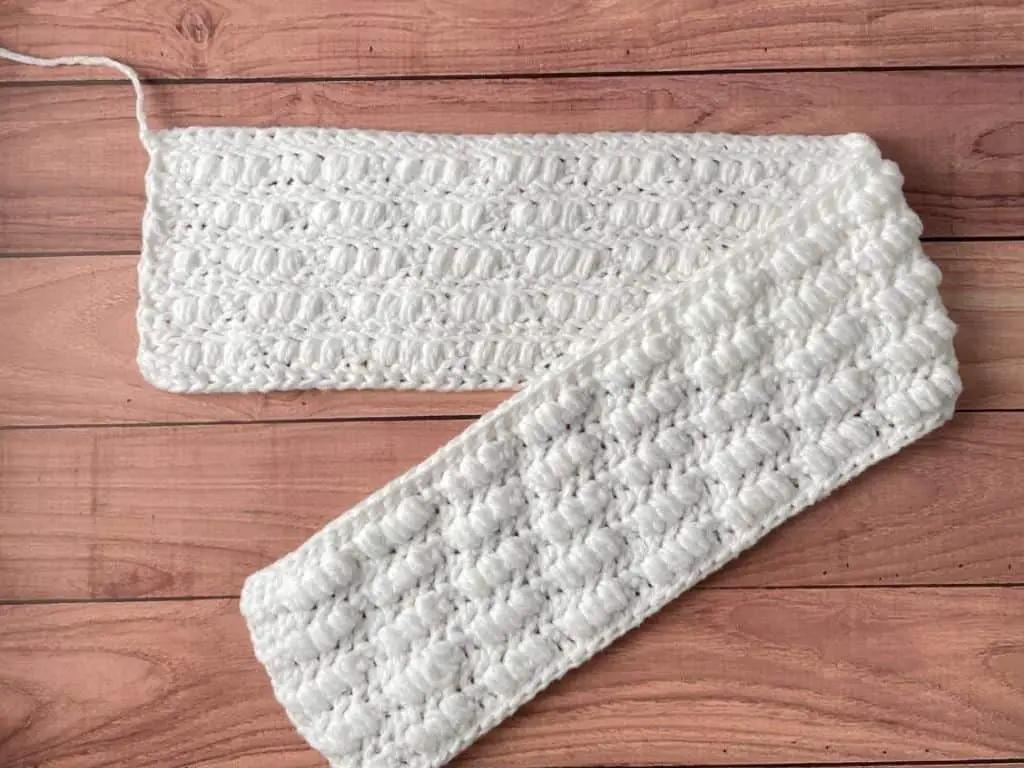
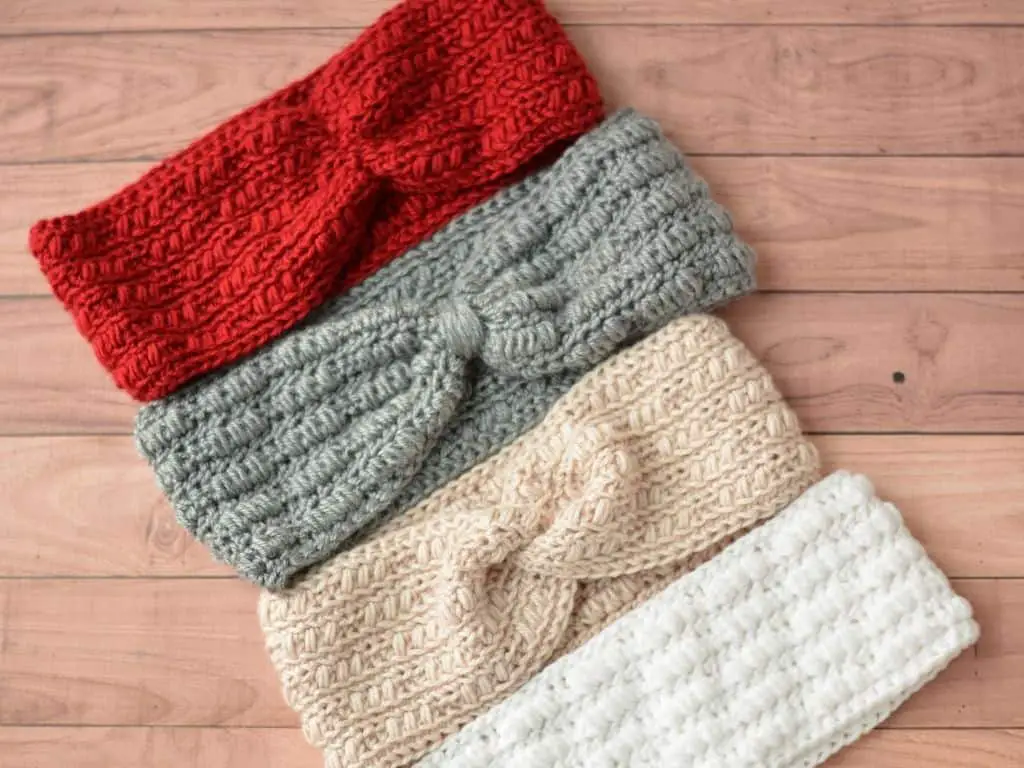
I am in love with this texture and the simplicity of how the combination of front and back loop half double crochet and puff stitches create so much texture. The combination is a simple repeat which is perfect for those days where you want to focus on mindfulness, or are cozied up with a fire and a movie.
You will work the ear warmer in rows, and then decide which texture you want to be the finished side. Then follow the directions to sew it together for your favorite style. Except for the standard version. You’ll be able to pick which texture you prefer each time you run out the door!
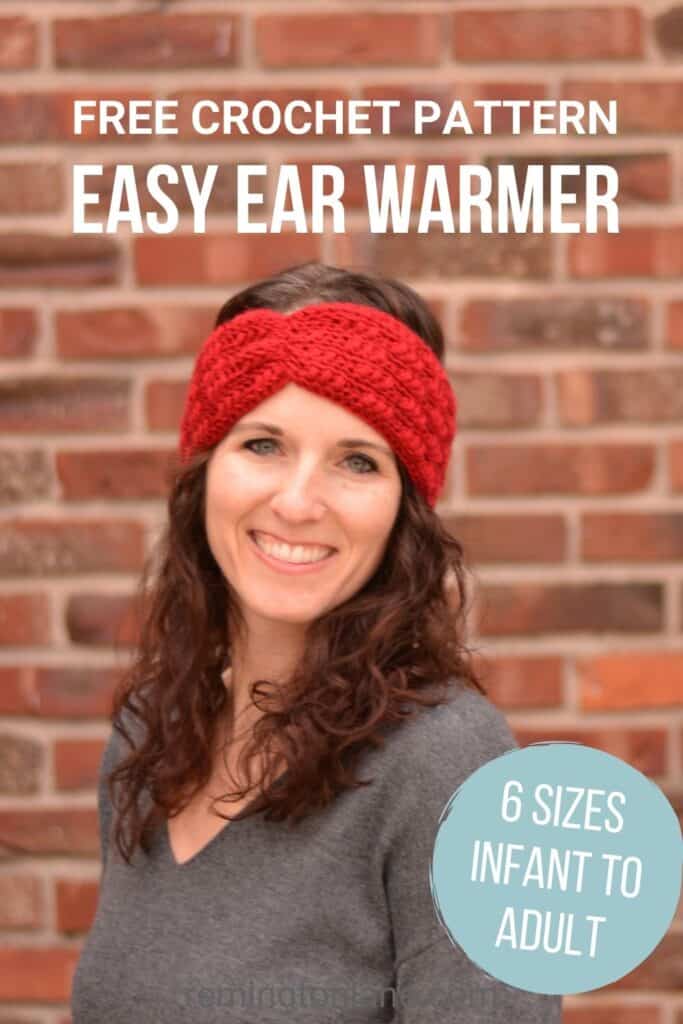
There are 6 sizes to choose from – infant to adult XL – and you’ll find the written pattern down below.
If you want additional photos for assembly, a pattern chart, and tips on how to customize the sizing, you can purchase the ad-free, premium PDF of this pattern on Etsy shop, Ravelry store, and LoveCrafts.
About the Stitches
Before you can get started with this quick crochet ear warmer, here are some details you need to know.
Skill Level: Easy / Advanced Beginner
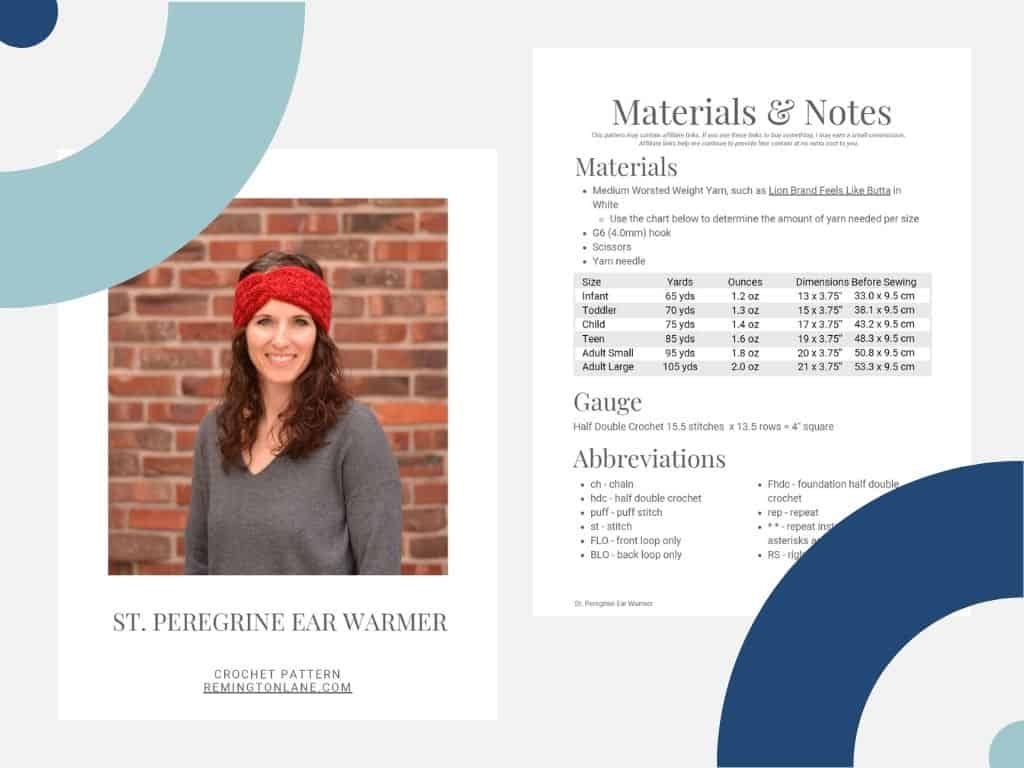
Materials:
- Medium Worsted Weight Yarn, such as Lion Brand Feels Like Butta
- Infant – 14-16″ (35.6-40.5 cm) head circumference – 65 yards
- Toddler – 16-18″ (40.5-45.7 cm) head circumference – 70 yards
- Child – 18-20″ (45.7-50.8 cm) head circumference – 75 yards
- Teen – 20-22″ (50.8-55.9 cm) head circumference – 85 yards
- Adult Small – 21-23″ (53.3-58.4 cm) head circumference – 95 yards
- Adult Large – 22-24″ (55.9-61.0 cm) head circumference – 105 yards
- G6 (4.0mm) Hook
- Scissors
- Yarn Needle
Gauge: Half Double Crochet 15.5 stitches x 13.5 rows = 4″ square
Finished Dimensions:
- Infant – 13 x 3.75″ (33.0 x 9.5 cm)
- Toddler – 15 x 3.75″ (38.1 x 9.5 cm)
- Child – 17 x 3.75″ (43.2 x 9.5 cm)
- Teen – 19 x 3.75″ (48.3 x 9.5 cm)
- Adult Small – 20 x 3.75″ (50.8 x 9.5 cm)
- Adult Large – 21 x 3.75″ (53.3 x 9.5 cm)
Stitch Abbreviations:
- sl st – slip stitch
- ch – chain
- hdc – half double crochet
- puff – puff stitch
- st – stitch
- FLO – front loop only
- BLO – back loop only
- Fhdc – foundation half double crochet
- rep – repeat
- * * – repeat instructions between asterisks as directed
- RS – right side
Special Stitches
- Puff Stitch – * yarn over, insert your hook, yarn over and pull up a loop *, repeat from * to * two more times (7 loops will be on your hook), yarn over and pull through all of the loops.
Pattern Notes:
- US Terms (US to UK terminology conversion)
- Ch 2 counts as a stitch
- One side has a more fluffy texture than the other – it’s your preference which side you choose for the right side
- (A) = Length of Row 1 in inches (cm) or approximate number of stitches
- Infant – 12″ (30.5 cm) – approximately 48 stitches
- Toddler – 14″ (35.6 cm) – approx 56 st
- Child – 16″ (40.6 cm) – approx 64 st
- Teen – 18″ (45.7 cm) – approx 72 st
- Adult Small – 19″ (48.3 cm) – approx 76 st
- Adult Large – 20″ (50.8 cm) – approx 80 st
How to Make a Crochet Ear Warmer With Leftover Yarn
Row 1: Fhdc A or the length listed for your size. (A)
Or, Chain A + 1.
Row 1: hdc in 3rd ch from hook, hdc to end of the row. Turn. (A)
Row 2: Ch 2, BLO hdc in next st, * 3 puff, 2 BLO hdc *, rep from * to * until 2 st remain. BLO hdc, hdc in top turning chain from previous row. Turn. (A)
Row 3: Ch 2, FLO hdc in next st, FLO hdc to end of the row, hdc in top turning chain from previous row. Turn. (A)
Row 4: Ch 2, BLO hdc in next st, 2 puff, 2 BLO hdc, * 3 puff, 2 BLO hdc *, rep from * to * until 2 st remain. BLO hdc, hdc in top turning chain from previous row. Turn. (A)
Row 5: Repeat row 3.
Row 6: Ch 2, BLO hdc in next st, 1 puff, 2 BLO hdc, * 3 puff, 2 BLO hdc *, rep from * to * until 2 st remain. BLO hdc, hdc in top turning chain from previous row. Turn. (A)
Row 7: Repeat row 3.
Row 8: Ch 2, 3 BLO hdc, * 3 puff, 2 BLO hdc *, rep from * to * until 2 sts remain. BLO hdc, hdc in top turning chain from previous row. Turn. (A)
Row 9: Repeat row 3.
Row 10: Ch 2, 2 BLO hdc, * 3 puff, 2 BLO hdc *, rep from * to * until 2 sts remain. BLO hdc, hdc in top turning chain from previous row. Turn. (A)
Row 11: Repeat row 3.
Do not cut yarn or fasten off.
See Assembly section for directions.
Assembly Options
Standard
With the same sides together, line up the short ends, sl st along the short edge from one end to the other. Ensure your stitches go through both layers for a secure fit.
Fasten off and weave in ends.
Twisted
Cut the yarn, leaving a long tail, approximately 8-12” for sewing.
With RS together, fold the ends together so they are overlapping. Sew the ends together ensuring you weave the yarn through all four layers.
Fasten off and weave in ends. Turn the ear warmer right side out.
Scrunched
Cut the yarn, leaving a long tail, approximately 12” for sewing.
With the same sides together line up the short ends.
Use your yarn needle to sew a mattress stitch along the ends. Pull tight so that the short ends scrunch together.
Fasten off and weave in the ends.
Wrapped
Cut the yarn, leaving a long tail, approximately 36” for sewing.
With the same sides together line up the short ends.
Use your yarn needle to sew a mattress stitch along the ends. Pull tight so that the short ends scrunch together.
Wrap the yarn around the scrunched ends several times.
Fasten off and weave in the ends.
FEBRUARY 13, 2025: Get the St Peregrine Ear Warmer pattern for free! Click on the button below and go to Ravelry. If you don’t have the coupon code, visit the blog hop hub at MadameStitch.

Missed a few days? Want to get all the patterns without hopping the blogs? Grab the Head Over Heels Pattern Bundle.
Purchase this Quick and Easy Crochet Ear Warmer Pattern
You can buy the ad-free, PDF of this pattern on Etsy shop, Ravelry store, and LoveCrafts.
More Crochet Patterns You Perfect for Gifting
I love seeing your finished projects! If you enjoyed making the St. Peregrine Ear Warmer, I’d love to see yours on Instagram. To be sure I don’t miss it, please tag me @remingtonlanecrochet when you share your photos!

Copyright 2020-2026 Remington Lane Crochet, LLC. This pattern and its images are copyright protected and the sole property of Remington Lane Crochet LLC. Please do not redistribute, transfer, or sell the pattern, or alter it to claim as your own.
You may sell any products you create from this pattern. Please credit the designer by linking online listings to https://remingtonlane.com/ or by tagging @remingtonlanecrochet

Thank you for sharing this pattern on the 2022 Stash Busting Blog Hop! I love the texture, and the options for joining. Lovely.
You’re welcome! I’m so glad you love it. Thank you so much!