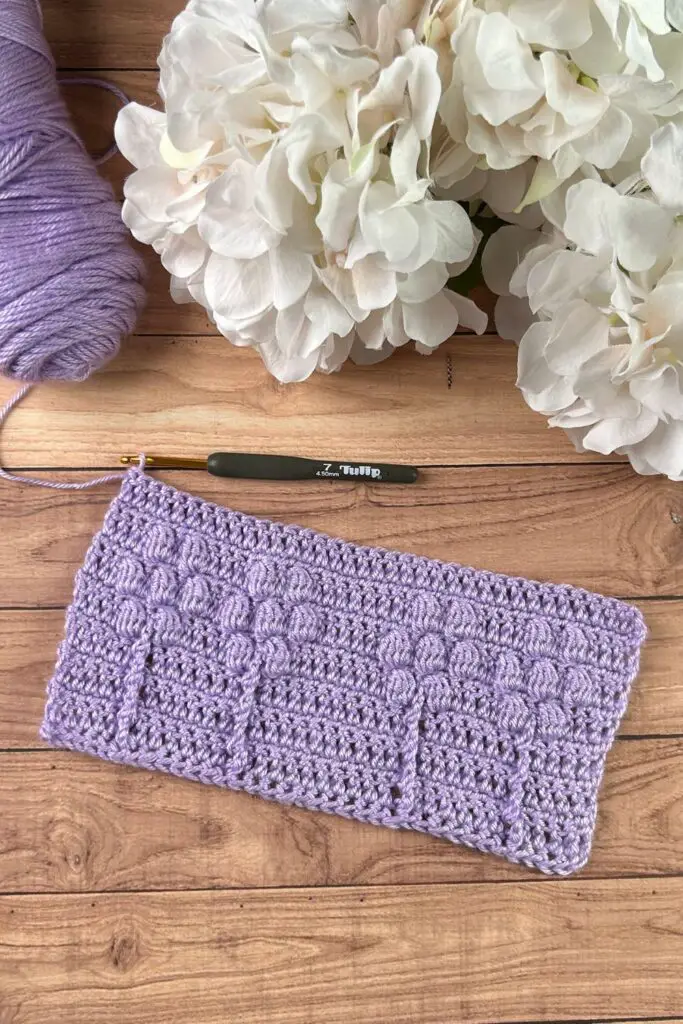
Ready for Section 7 of the Blossoming Blanket Crochet Along? I love how each of the sections are coming together for this flower-inspired crochet blanket.
This post may contain affiliate links. If you use these links to buy something, I may earn a small commission. Affiliate links help me continue to provide free content at no extra cost to you.
This design is featured in the Blossoming Blanket Crochet-Along hosted by Knitting With Chopsticks.
Keep reading to find the free written instructions. Prefer all the patterns in one beautifully formatted ebook? Get the ebook.
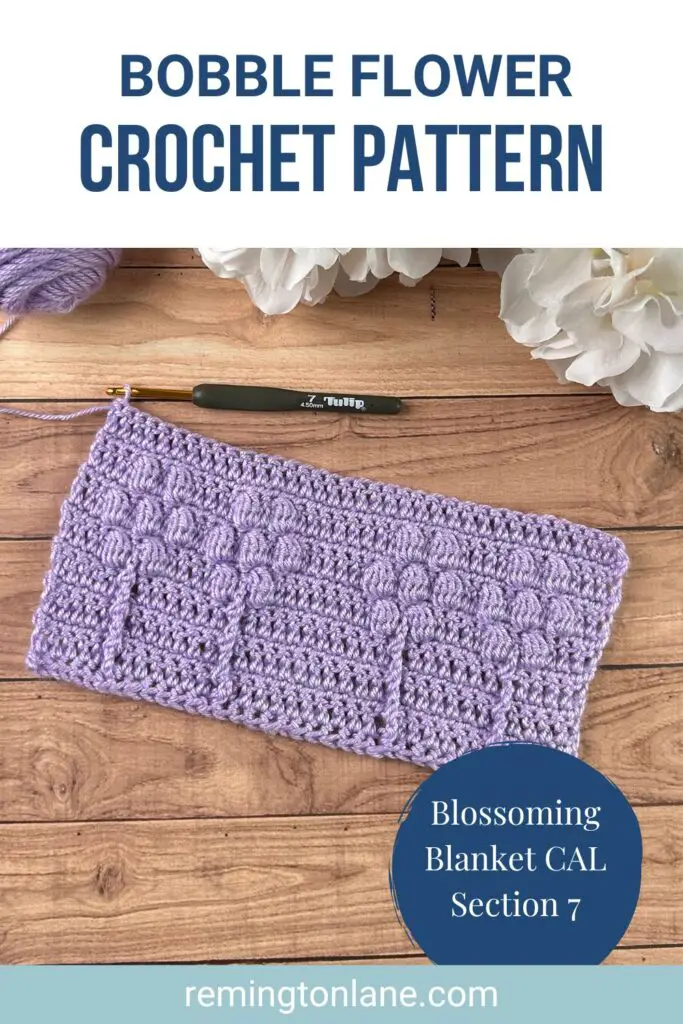
Introducing the Bobble Bouquet Blanket Strip
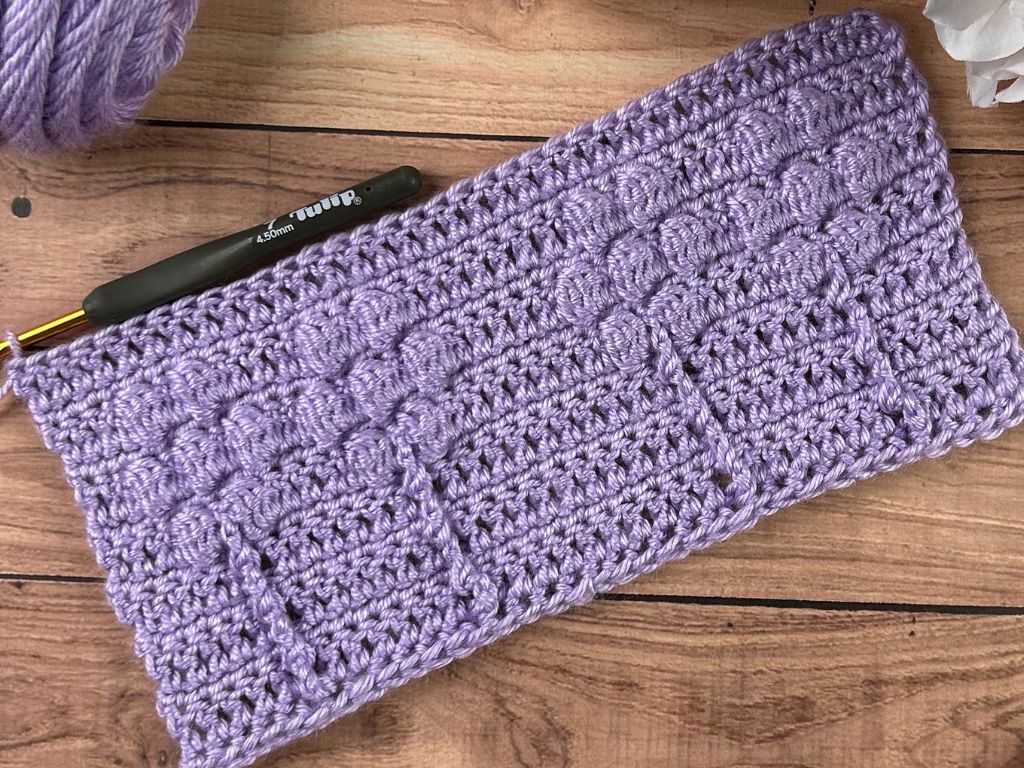
With this blanket strip, you are going to use a few different stitches to create flowers with stems. It’s going to give you a chance to learn some back post stitches and bobble stitches. You will use both back post double crochet (BPdc) and back post treble crochet (BPtc) stitches for the stems. The flower petals are made using bobble stitches.
Back post double crochet stitches will be crocheted into a single crochet stitch, so be sure to check out the tutorials as it can be a little tricky to spot where to put your hook if you haven’t done it before. Next, the back post treble crochet stitches will be made two rows below, into the previous post stitch. It really gives the flower stem their pop! For the flower petals, the bobbles are made using five double crochet stitches in a cluster.
In between the fancy stitches, you will zip right along with regular single and double crochet stitches, so this section works up fairly quickly. Another thing to note is that all of the post and bobble stitches are made while working the on the wrong side of the blanket. So you’ll have to wait until you turn your work to see their true beauty shine!
You can buy the ad-free, PDF of this pattern in my Etsy shop, Ravelry store, and LoveCrafts.
Video Tutorial for Bobble Bouquet Blanket Pattern
Here’s a full left-handed tutorial on how to make this blanket strip pattern. Regardless of whether you crochet right- or left-handed, you can follow the instructions in the same way. Right-handed crocheters will have a mirrored image of how the video tutorial is shown.
About the Stitches
Before you can get started with this crochet blanket section, here are some details you need to know.
Skill Level: Advanced Beginner
Materials:
- Light Worsted Weight Yarn in 1 color, such as Caron Simply Soft or WeCrochet Comfy Worsted
- Orchid – 265 yards
- 7 (4.5mm) Hook
- Scissors
- Yarn Needle
Gauge: Double Crochet 14 st x 10 rows = 4” square
Finished Dimensions: Approximately 50” wide x 5” high (127cm x 12.7cm)
Stitch Abbreviations:
- ch = chain
- sc = single crochet (right-handed tutorial or left-handed tutorial)
- dc = double crochet (right-handed tutorial or left-handed tutorial)
- BPdc = back post double crochet (right-handed tutorial or left-handed tutorial)
- BPtc = back post treble crochet (right-handed tutorial or left-handed tutorial)
- bo = 5 double crochet bobble stitch
- st = stitch
- rep = repeat
- * * = repeat instructions between asterisks as directed
Special Stitches
- Bobble Stitch (bo) – * Yarn over, insert your hook, yarn over and pull up a loop, yarn over and pull through two loops, * repeat from * to * four more times (6 loops will be on your hook), yarn over and pull through all the loops
Pattern Notes:
- US Terms (US to UK terminology conversion)
- Multiples of 18
- Ch 1 at the beginning of a row does not count as a stitch
- Ch 2 at the beginning of a row counts as a stitch
- BPtc stitches are made into the top of the double crochet stitch two rows below (i.e., in Row 4 the BPtc is made into the dc in Row 2)
- Bobble stitches are worked on the wrong side of the project. So after you complete the stitch, the bobble should be popping out of the right side of the fabric.
- If using as the first section of a blanket or outside of the Blossoming Blanket CAL:
- Multiples of 18 + 1
- Row 1 can be made using 180 fsc (foundation single crochet) or chain 181, then sc in 2nd ch from hook and sc to the end of the row. (180 stitches)
How to Make This Flower-Inspired Crochet Blanket Strip
Row 1 (RS): ch 1, sc in each st. Turn. (180 sc)
Row 2 (WS): ch 2, dc 4, * BPdc, dc 6, BPdc, dc 10, * repeat from * to * until 13 st remain, BPdc, dc 6, BPdc, dc 5. Turn. (20 BPdc, 160 dc)
Row 3 (RS): rep Row 1
Row 4 (WS): ch 2, dc 4, * BPtc, dc 6, BPtc, dc 10, * repeat from * to * until 13 st remain, BPtc, dc 6, BPdc, dc 5. Turn. (20 BPtc, 160 dc)
Row 5 (RS): rep Row 1
Row 6 (WS): rep Row 4
Row 7 (RS): rep Row 1

Row 8 (WS): ch 2, dc 3, * bo, BPtc, bo, dc 4, bo, BPtc, bo, dc 8, * repeat from * to * until 14 st remain, bo, BPtc, bo, dc 4, bo, BPtc, bo, dc 4. Turn. (20 BPtc, 40 bo, 120 dc)
Row 9 (RS): rep Row 1
Row 10 (WS): ch 2, dc 2, * bo, dc, bo, dc, bo, dc 2, bo, dc, bo, dc, bo, dc 6 * repeat from * to * until 15 st remain, bo, dc, bo, dc, bo, dc 2, bo, dc, bo, dc, bo, dc 3. Turn. (60 bo, 120 dc)
Row 11 (RS): rep Row 1
Row 12 (WS): ch 2, dc 3, * bo, dc, bo, dc 4, bo, dc, bo, dc 8, * repeat from * to * until 14 st remain, bo, dc, bo, dc 4, bo, dc, bo, dc 4. Turn. (40 bo, 140 dc)
Row 13 (RS): rep Row 1
Row 14 (WS): ch 2, dc in next st, dc to end of the row. (180 dc)
Follow the directions in the Blossom Blanket CAL for transitioning to the next section.
Fasten off and weave in ends.
Want to Make Your Own Flower-Inspired Crochet Blanket?
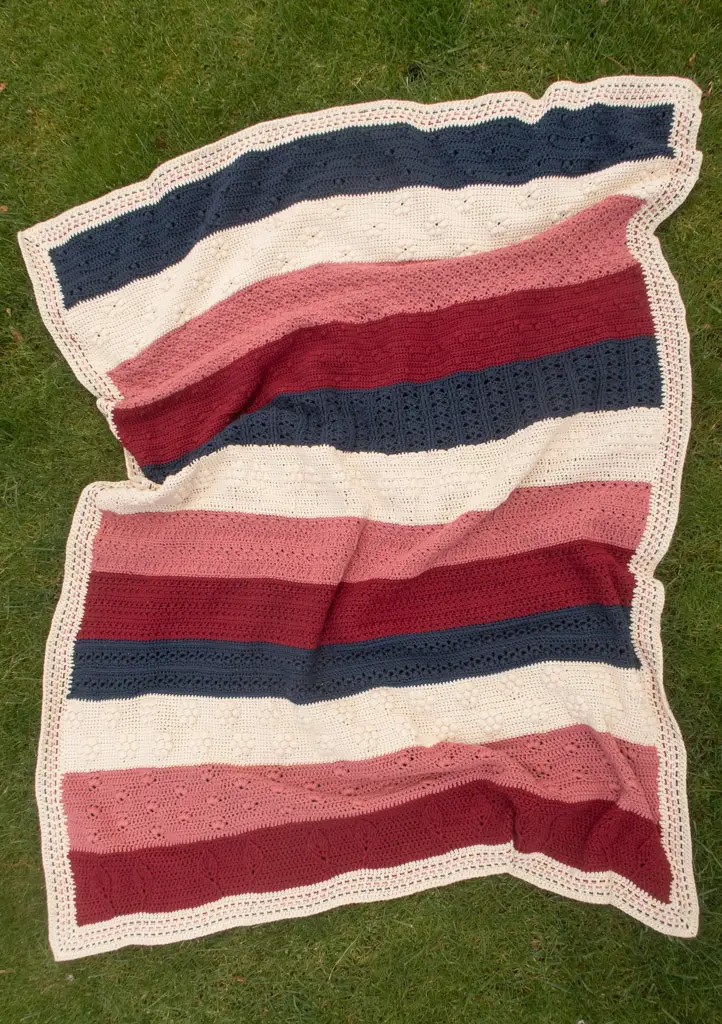
Make your handmade home extra sweet this spring with a stunning Blossoming crochet blanket.
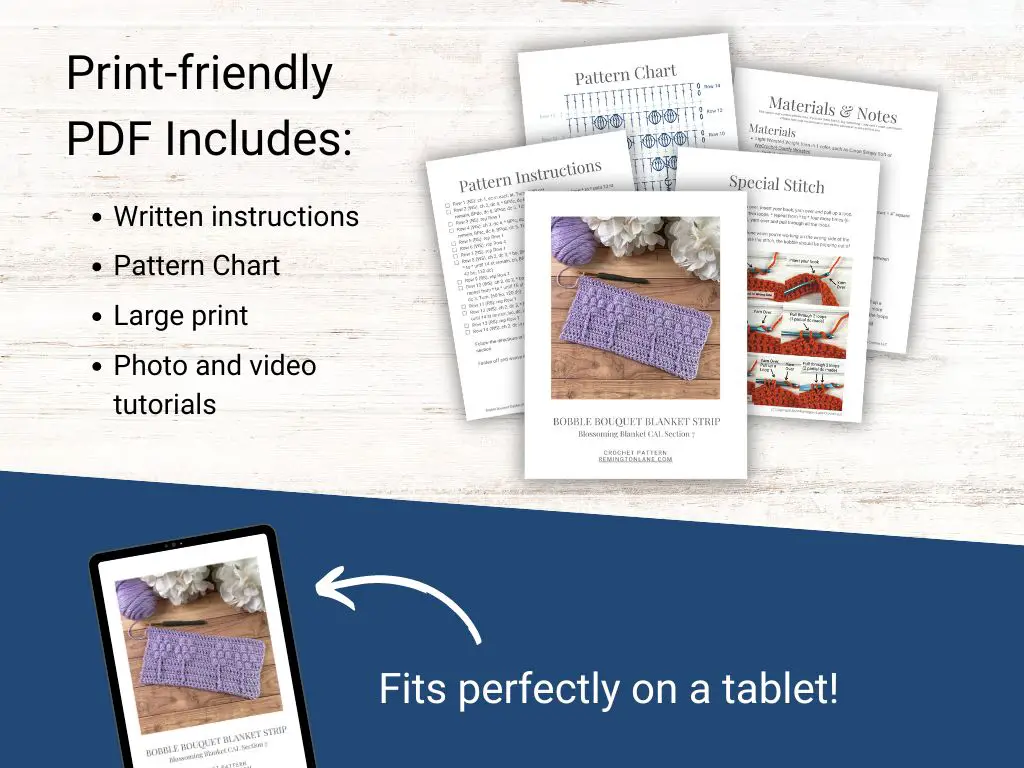
- 12 different section patterns combine to make one beautiful blanket
- Written instructions
- Pattern charts
- Photo and video tutorials
Purchase the Bobble Bouquet Blanket Strip Pattern
You can buy the ad-free, PDF of this pattern in my Etsy shop, Ravelry store, and LoveCrafts.
More Crochet Blanket Strips You Will Love to Make
- Cozy Ridges Blanket Strip
- Cozy Triangles Blanket Strip
- Wintergreen Trees Mosaic Blanket Strip
- Butterfly C2C Square
I love seeing your finished projects! If you enjoyed making the Bobble Bouquet Blanket Strip, I’d love to see yours on Instagram. To be sure I don’t miss it, please tag me @remingtonlanecrochet when you share your photos!

Copyright 2020-2024 Remington Lane Crochet, LLC. This pattern and its images are copyright protected and the sole property of Remington Lane Crochet LLC. Please do not redistribute, transfer, or sell the pattern, or alter it to claim as your own.
You may sell any products you create from this pattern. Please credit the designer by linking online listings to https://remingtonlane.com/ or by tagging @remingtonlanecrochet

Leave a Reply